
TRANSMISSION 04 / ALPHA DEVELOPMENT JOURNAL / 18 OCTOBER 2026
SidewinderZ: Your Squad, Your Command
A crew becomes a fighting force when you give it direction.
You have chosen the expedition. Now you have to lead the people who came with you. SidewinderZ brings that decision onto the battlefield: select a squad, read the ground and give an order. The interesting part is how your force works together—who holds a route, who finds a firing angle and who keeps an ally fighting.
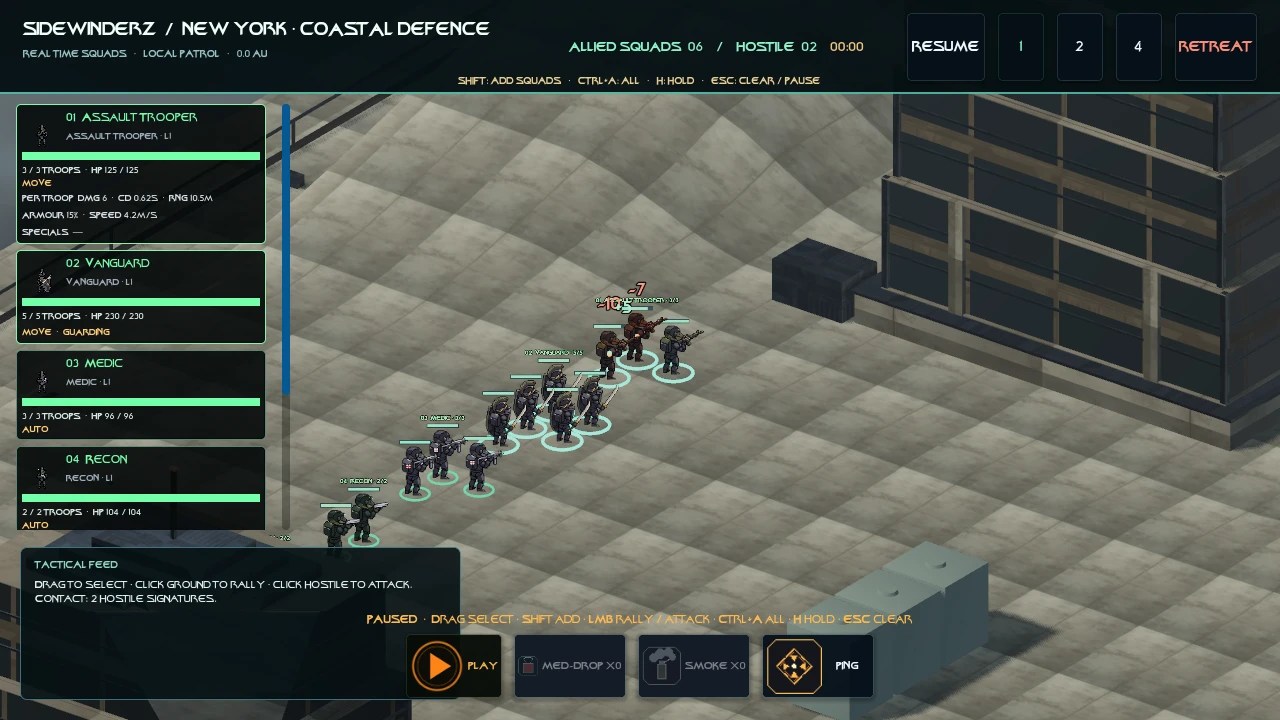
Choose the line you want to hold
A squad’s role gives you a reason to place it somewhere. Vanguard brings sword-and-shield protection. Recon can mark a hostile squad to increase allied damage against it. Snipers bring reach and a precise next-shot ability; medics can restore health to a nearby allied squad.
Imagine holding an approach with Vanguard while a ranged squad moves into a clear firing position. Do you reinforce the front, commit another squad to the flank or leave room for support? This is the kind of tactical choice we want the roster to create. A strong force needs a plan as well as strong individual units.
Give an order. Read the response.
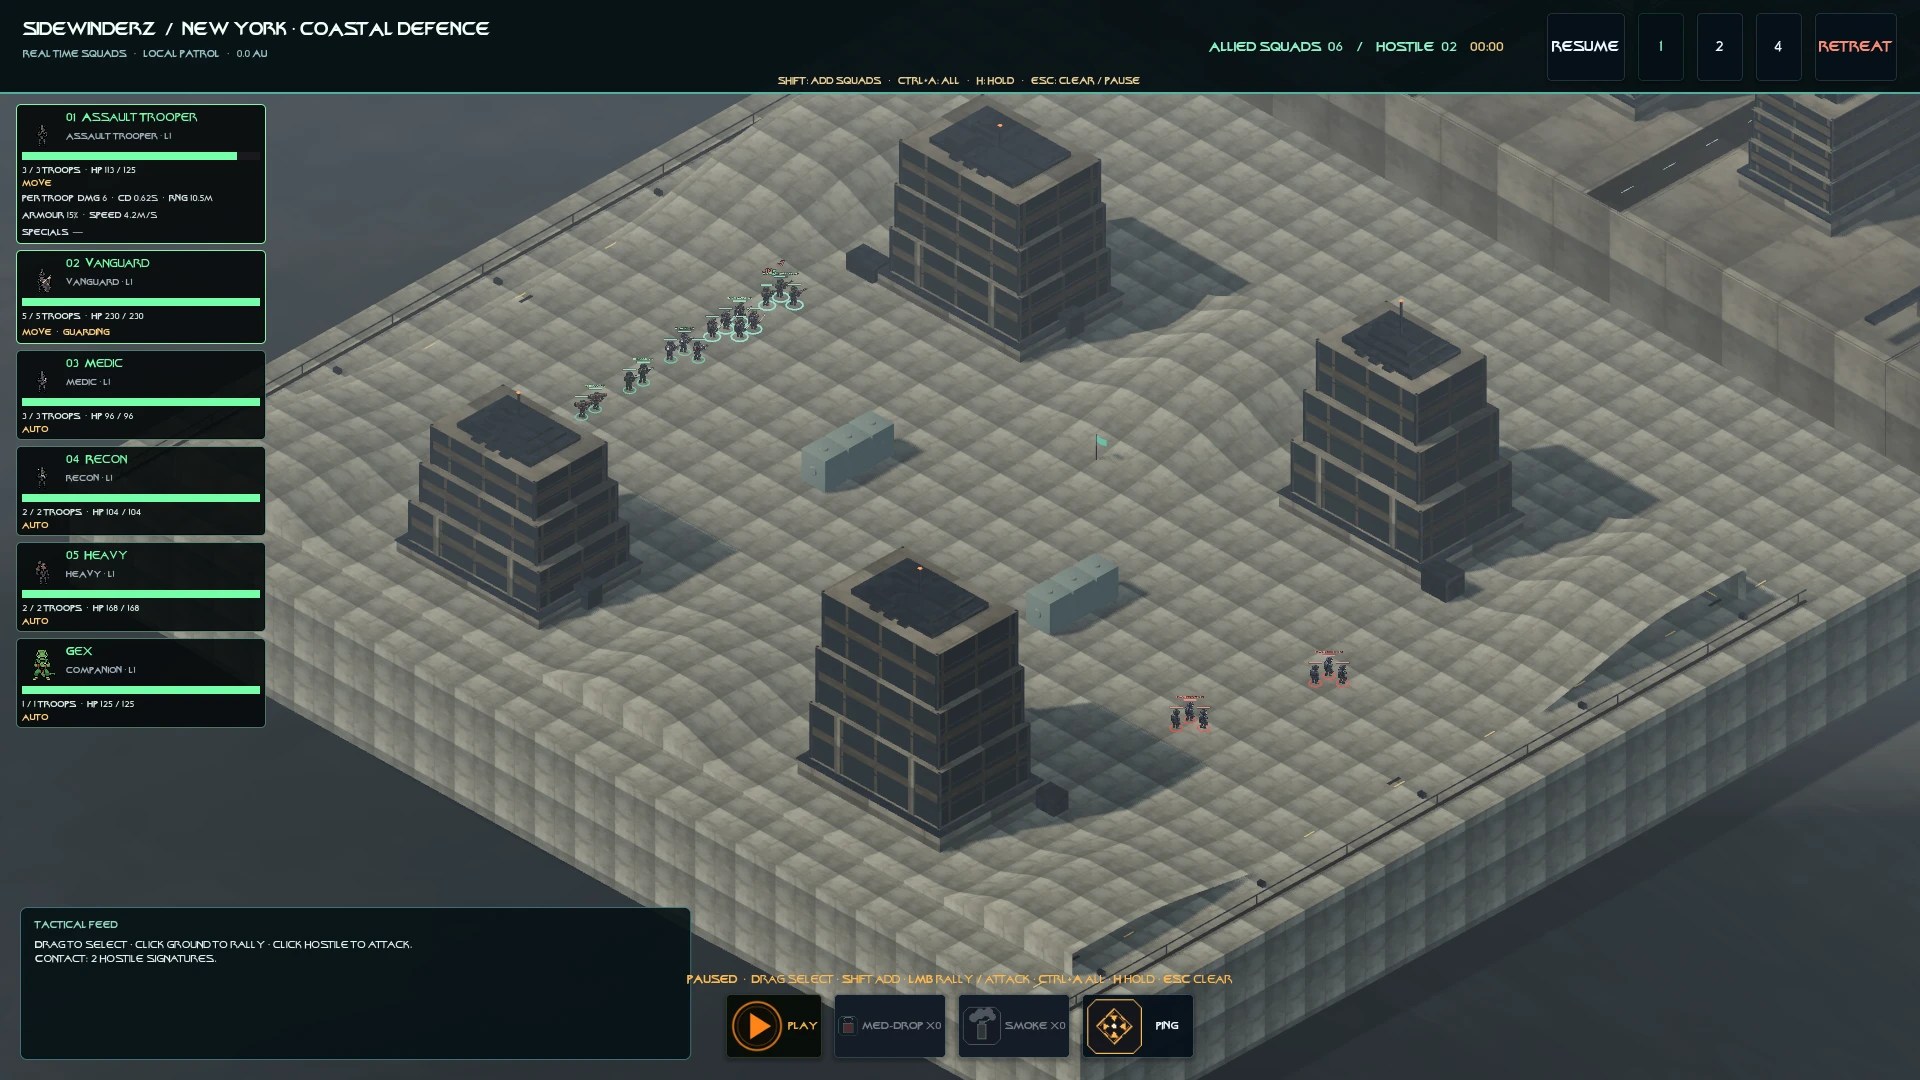
In the current alpha, you can select a friendly squad or drag a box around several. Shift adds squads to a selection. A ground click gives a rally order; choosing a hostile squad gives an attack order. Hold keeps your selected force in position, and pausing gives you time to inspect the situation.
- 01 / OBSERVERead the groundFind a route and a clear line of sight.
- 02 / SELECTChoose the forceBring the roles the position needs.
- 03 / ORDERCommitRally, attack or hold position.
- 04 / ADAPTRead the responseChange the plan as the field changes.
An order still has to make sense on the ground. Buildings, obstacles and occupied positions matter. An obstructed squad may hold rather than pass through scenery. Elevation can give ranged weapons a modest range advantage, but a higher position does not let a shot pass through a solid wall.
The right ability at the right moment
Class skills unlock at level 5 and are activated from the expanded squad card. Shield Wall trades Vanguard movement speed for armour. Spear Wall braces Nagi Ashigaru against incoming melee squads, with a particular strength against beasts and large monsters.
Aimed Shot strengthens a sniper’s next shot. Emergency Triage helps one nearby allied squad recover. These are different decisions: prepare for contact, create an opening or keep a threatened ally in the fight. Their balance values are still being tuned, so this journal focuses on their purpose.
A capital asks for a different commitment
A successful ordinary expedition in a matching capital system can unlock a separate Capital Ground Siege. Its officers bring threats such as telegraphed batteries and suppression, alongside shields, triage and rally support. You have to read those roles as well as the terrain.
A resolved siege attempt affects your reputation with the target faction. Victory weakens local readiness and opens palace access. Its consequences reach beyond the encounter itself.
Bring the roster home
Settlement tracks recruit identity and health at squad level. A surviving squad retains its health proportion, eligible returning troopers gain expedition experience, and squads dispatched from an outpost return there. A completely destroyed squad is removed from the recruit roster.
That return connects the battlefield to the next expedition. The force you send out has a history, and preserving it becomes part of your command.
Would you build around a shield line, long-range fire or a fast recon element? Tell us which squad combination you want to see in a future field demonstration.
KEEP THE FRONTIER ON YOUR RADAR
Wishlist Gornverse: The Dark Frontier on Steam and follow the development journal.
WISHLIST ON STEAM ↗GORNVERSE: THE DARK FRONTIER / © 2026 GornHegemony Management FZCO
Leave a Reply